How to Deploy AdminBolt on Vultr: One-Click Hosting Control Panel for a Global Cloud
Vultr is the cloud people reach for when they want hourly billing, a developer-first console, and instances that boot in under a minute across more than 30 regions. The hosting control panel you put on top of that should follow the same philosophy: predictable pricing, real API automation, and zero hand-holding to install. That is exactly what AdminBolt's Vultr Marketplace app delivers: a one-click deploy that hands you a fully configured hosting control panel without ever opening an SSH session.
This tutorial walks through the entire deployment in the Vultr console, click by click.
What you'll get when this is done
A Vultr instance running AlmaLinux 9 with AdminBolt pre-installed and ready to log into. The web server, PHP-FPM, mail stack (Postfix, Dovecot, Rspamd, Roundcube), database, and security baseline are configured for you. You log in once, set a hostname, and start adding domains.
For a 2 vCPU / 4 GB plan that is comfortable for production workloads, you are looking at $20/month on Vultr plus $20/month for AdminBolt's flat VPS license, about $40/month total for an unlimited-account hosting platform. With Vultr's hourly billing you can also spin it up for a few dollars, evaluate it, and shut it down.
Before you start
You need a Vultr account with a billing method on file. The whole flow takes about five minutes from clicking Deploy Server to logging into the AdminBolt panel.
Step 1: Open the deploy wizard
In the Vultr console, head to Compute → Instances. If you have no instances yet you will see the "No Instances" empty state. Click Deploy Server.
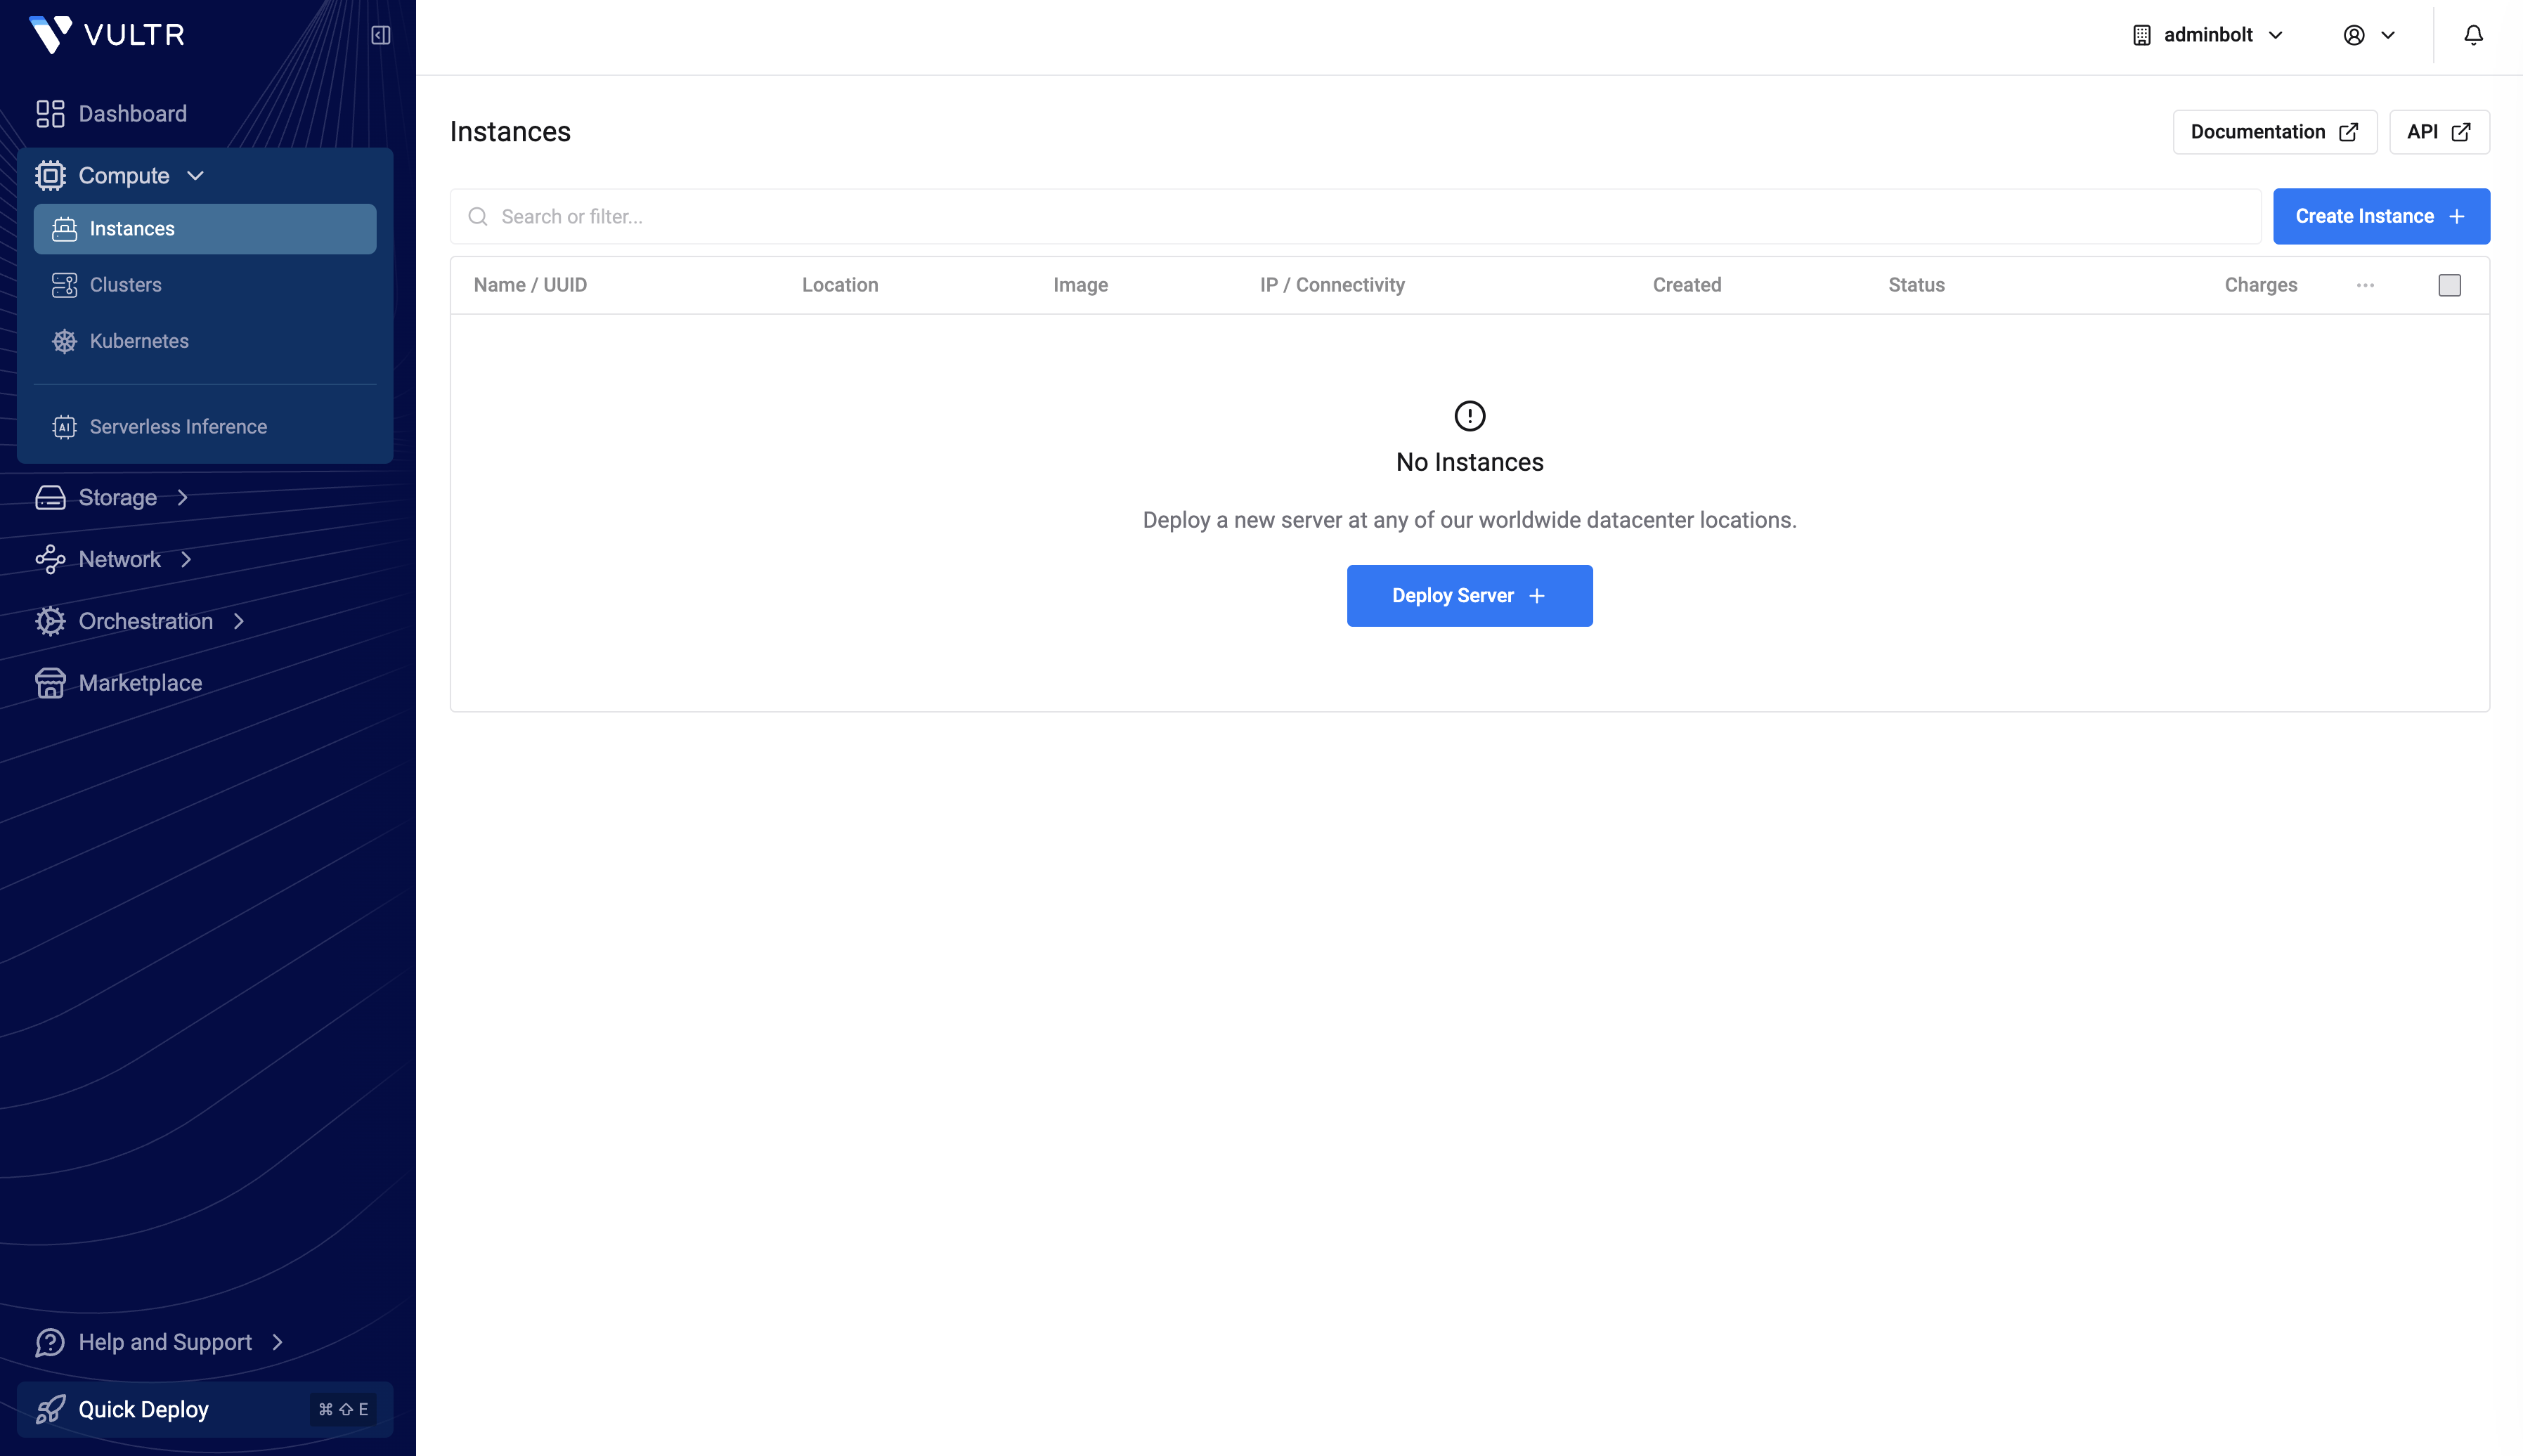
If your account already has instances, the same button is in the top-right corner as Create Instance.
Step 2: Pick instance type, location, and plan
The deploy wizard opens on the Choose Type / Location / Plan screen.
Choose Type. Vultr offers four product lines:
- Shared CPU (Cloud Compute, High Frequency, High Performance): best price-to-performance for most hosting workloads. Pick this for evaluation and small-to-mid customer fleets.
- Dedicated CPU: guaranteed cores, no noisy neighbors. Good for active production sites once you outgrow Shared.
- Bare Metal: physical hardware, no virtualization. Pairs with AdminBolt's Bare Metal license ($45/month) for large fleets.
- Cloud GPU: not relevant for hosting control panels; skip.
Location. Pick a region close to your customers. Vultr has 30+ data centers across the Americas, Europe, Asia, Australia, and Africa.
Plan. AdminBolt's minimum requirements are 2 vCPUs, 2 GB RAM, and 20 GB disk. The sweet spot on Cloud Compute is vc2-2c-4gb (2 vCPUs, 4 GB RAM, 80 GB SSD, 3 TB bandwidth) at $20/month. Smaller plans (1 vCPU / 1 GB) will start the installer but leave little headroom for real workloads.
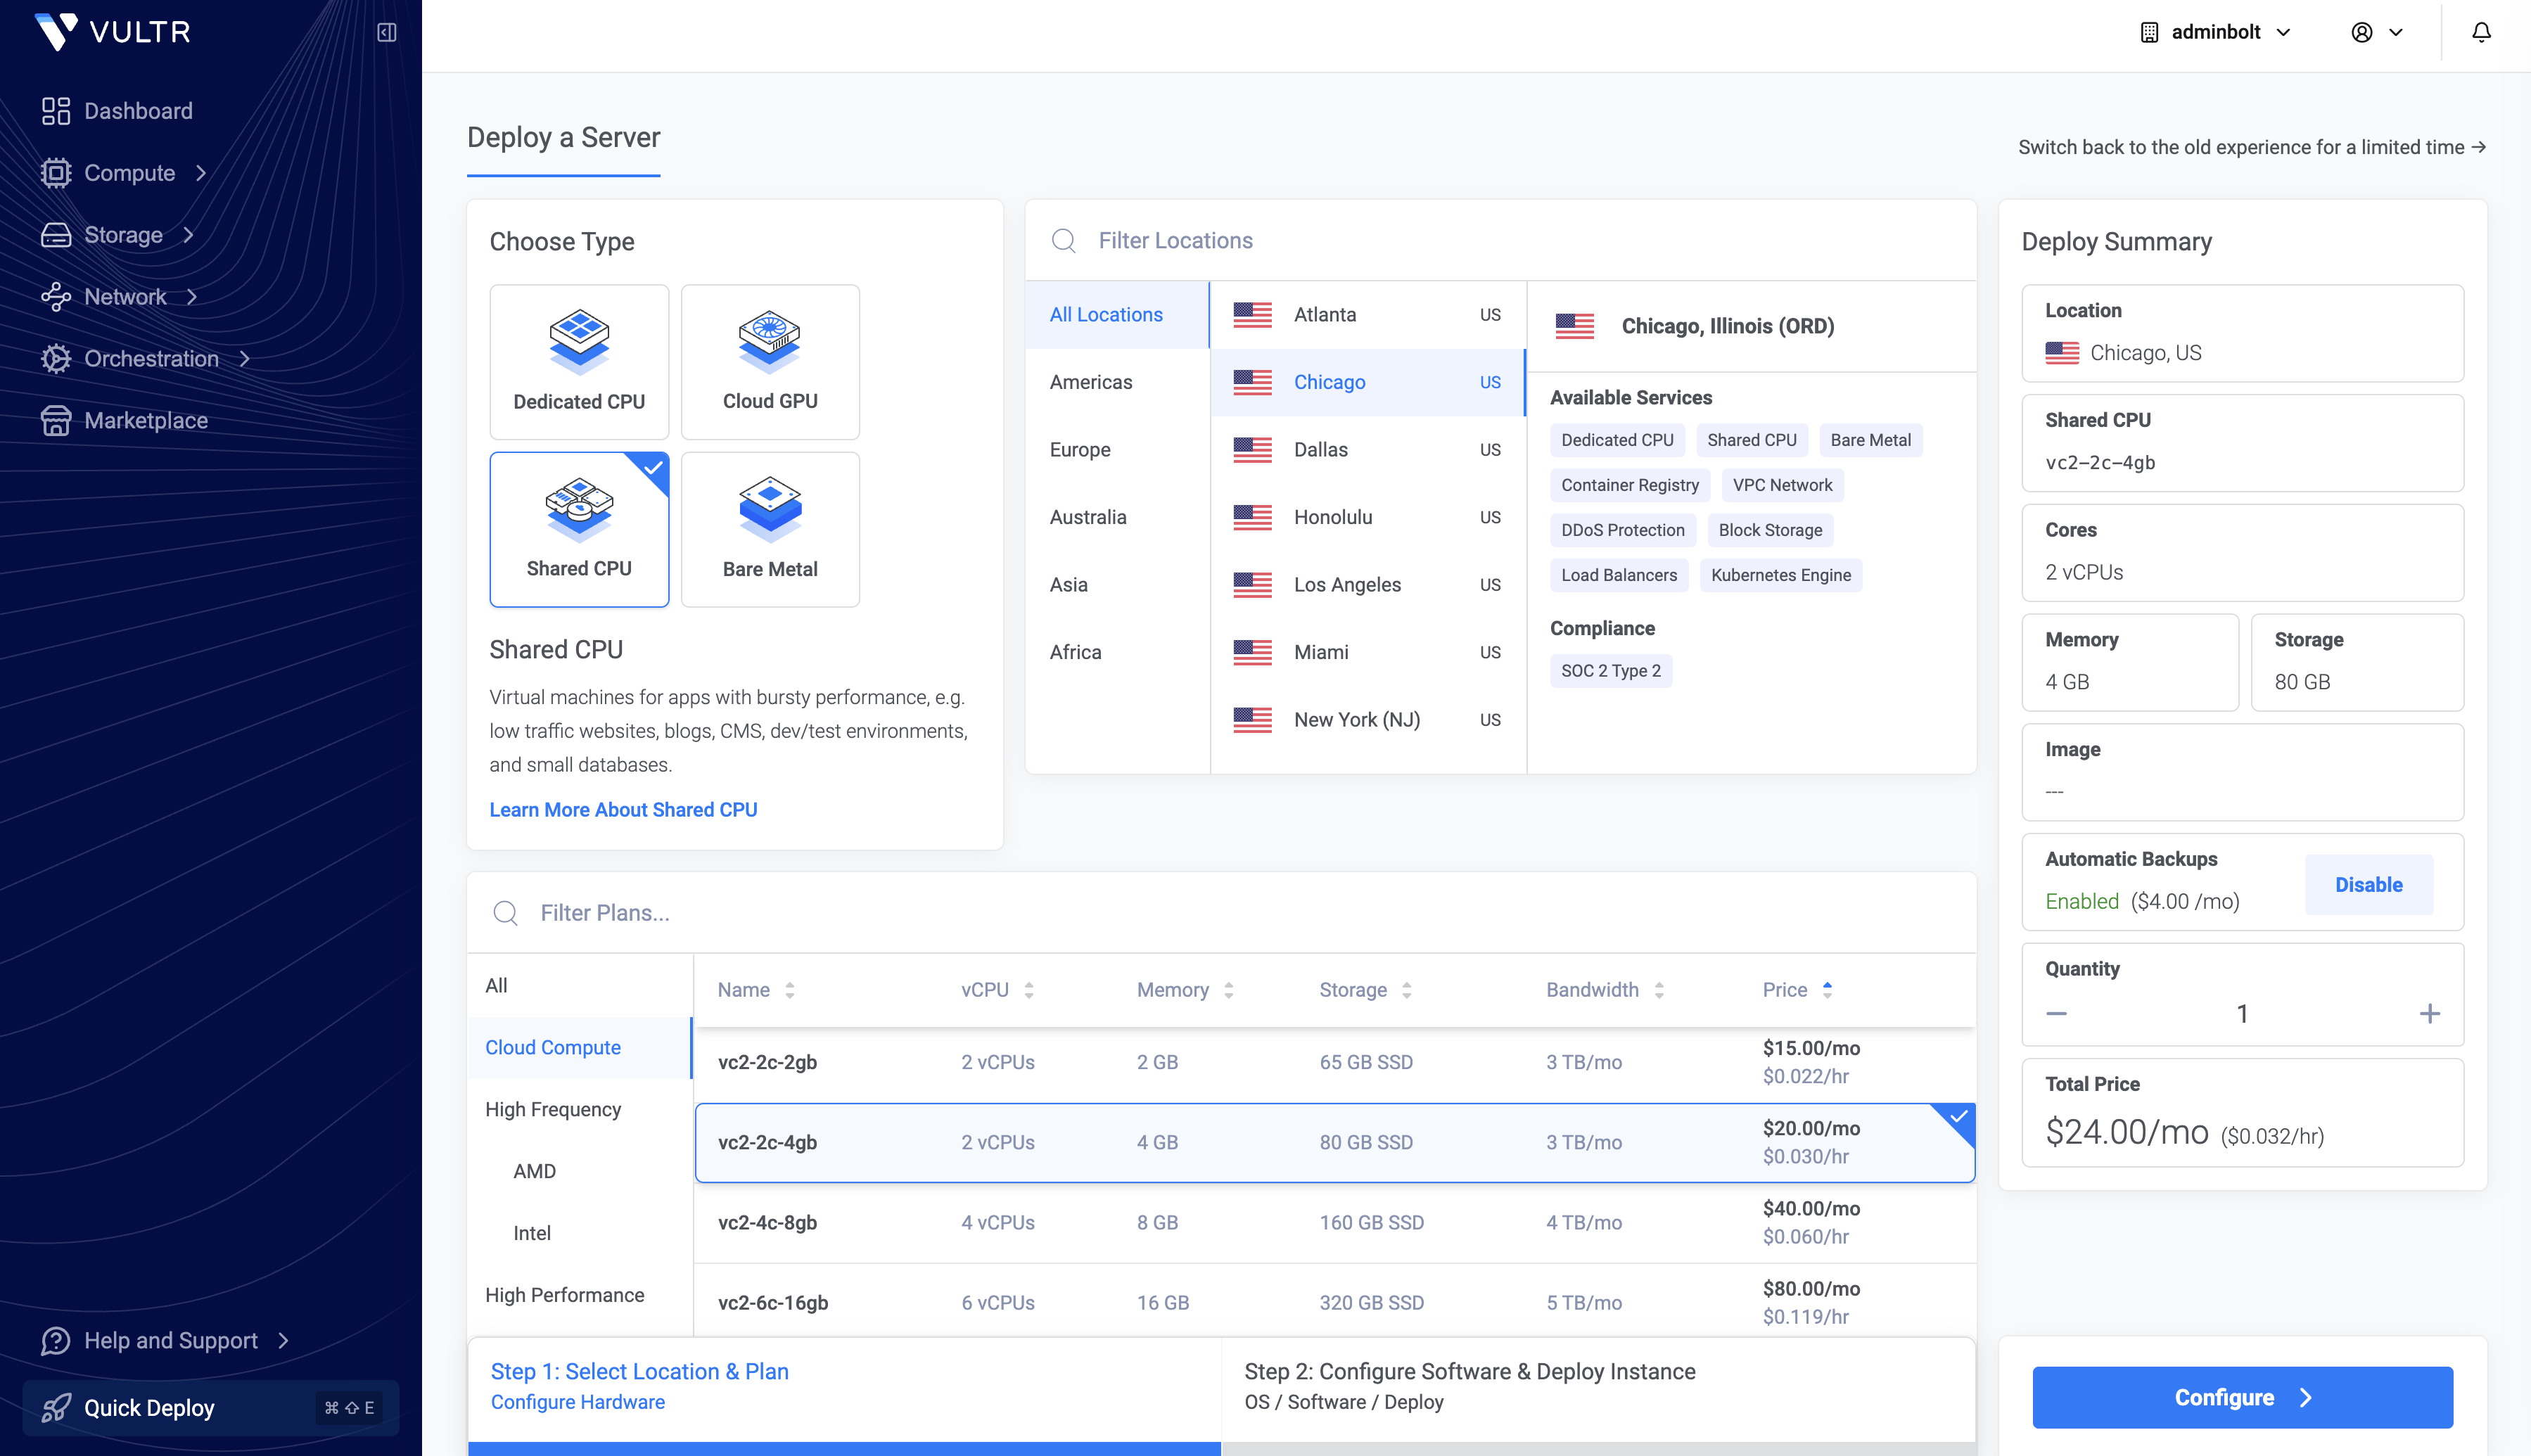
When the plan is selected, click Configure in the bottom-right.
Step 3: Switch to Marketplace Apps and pick AdminBolt
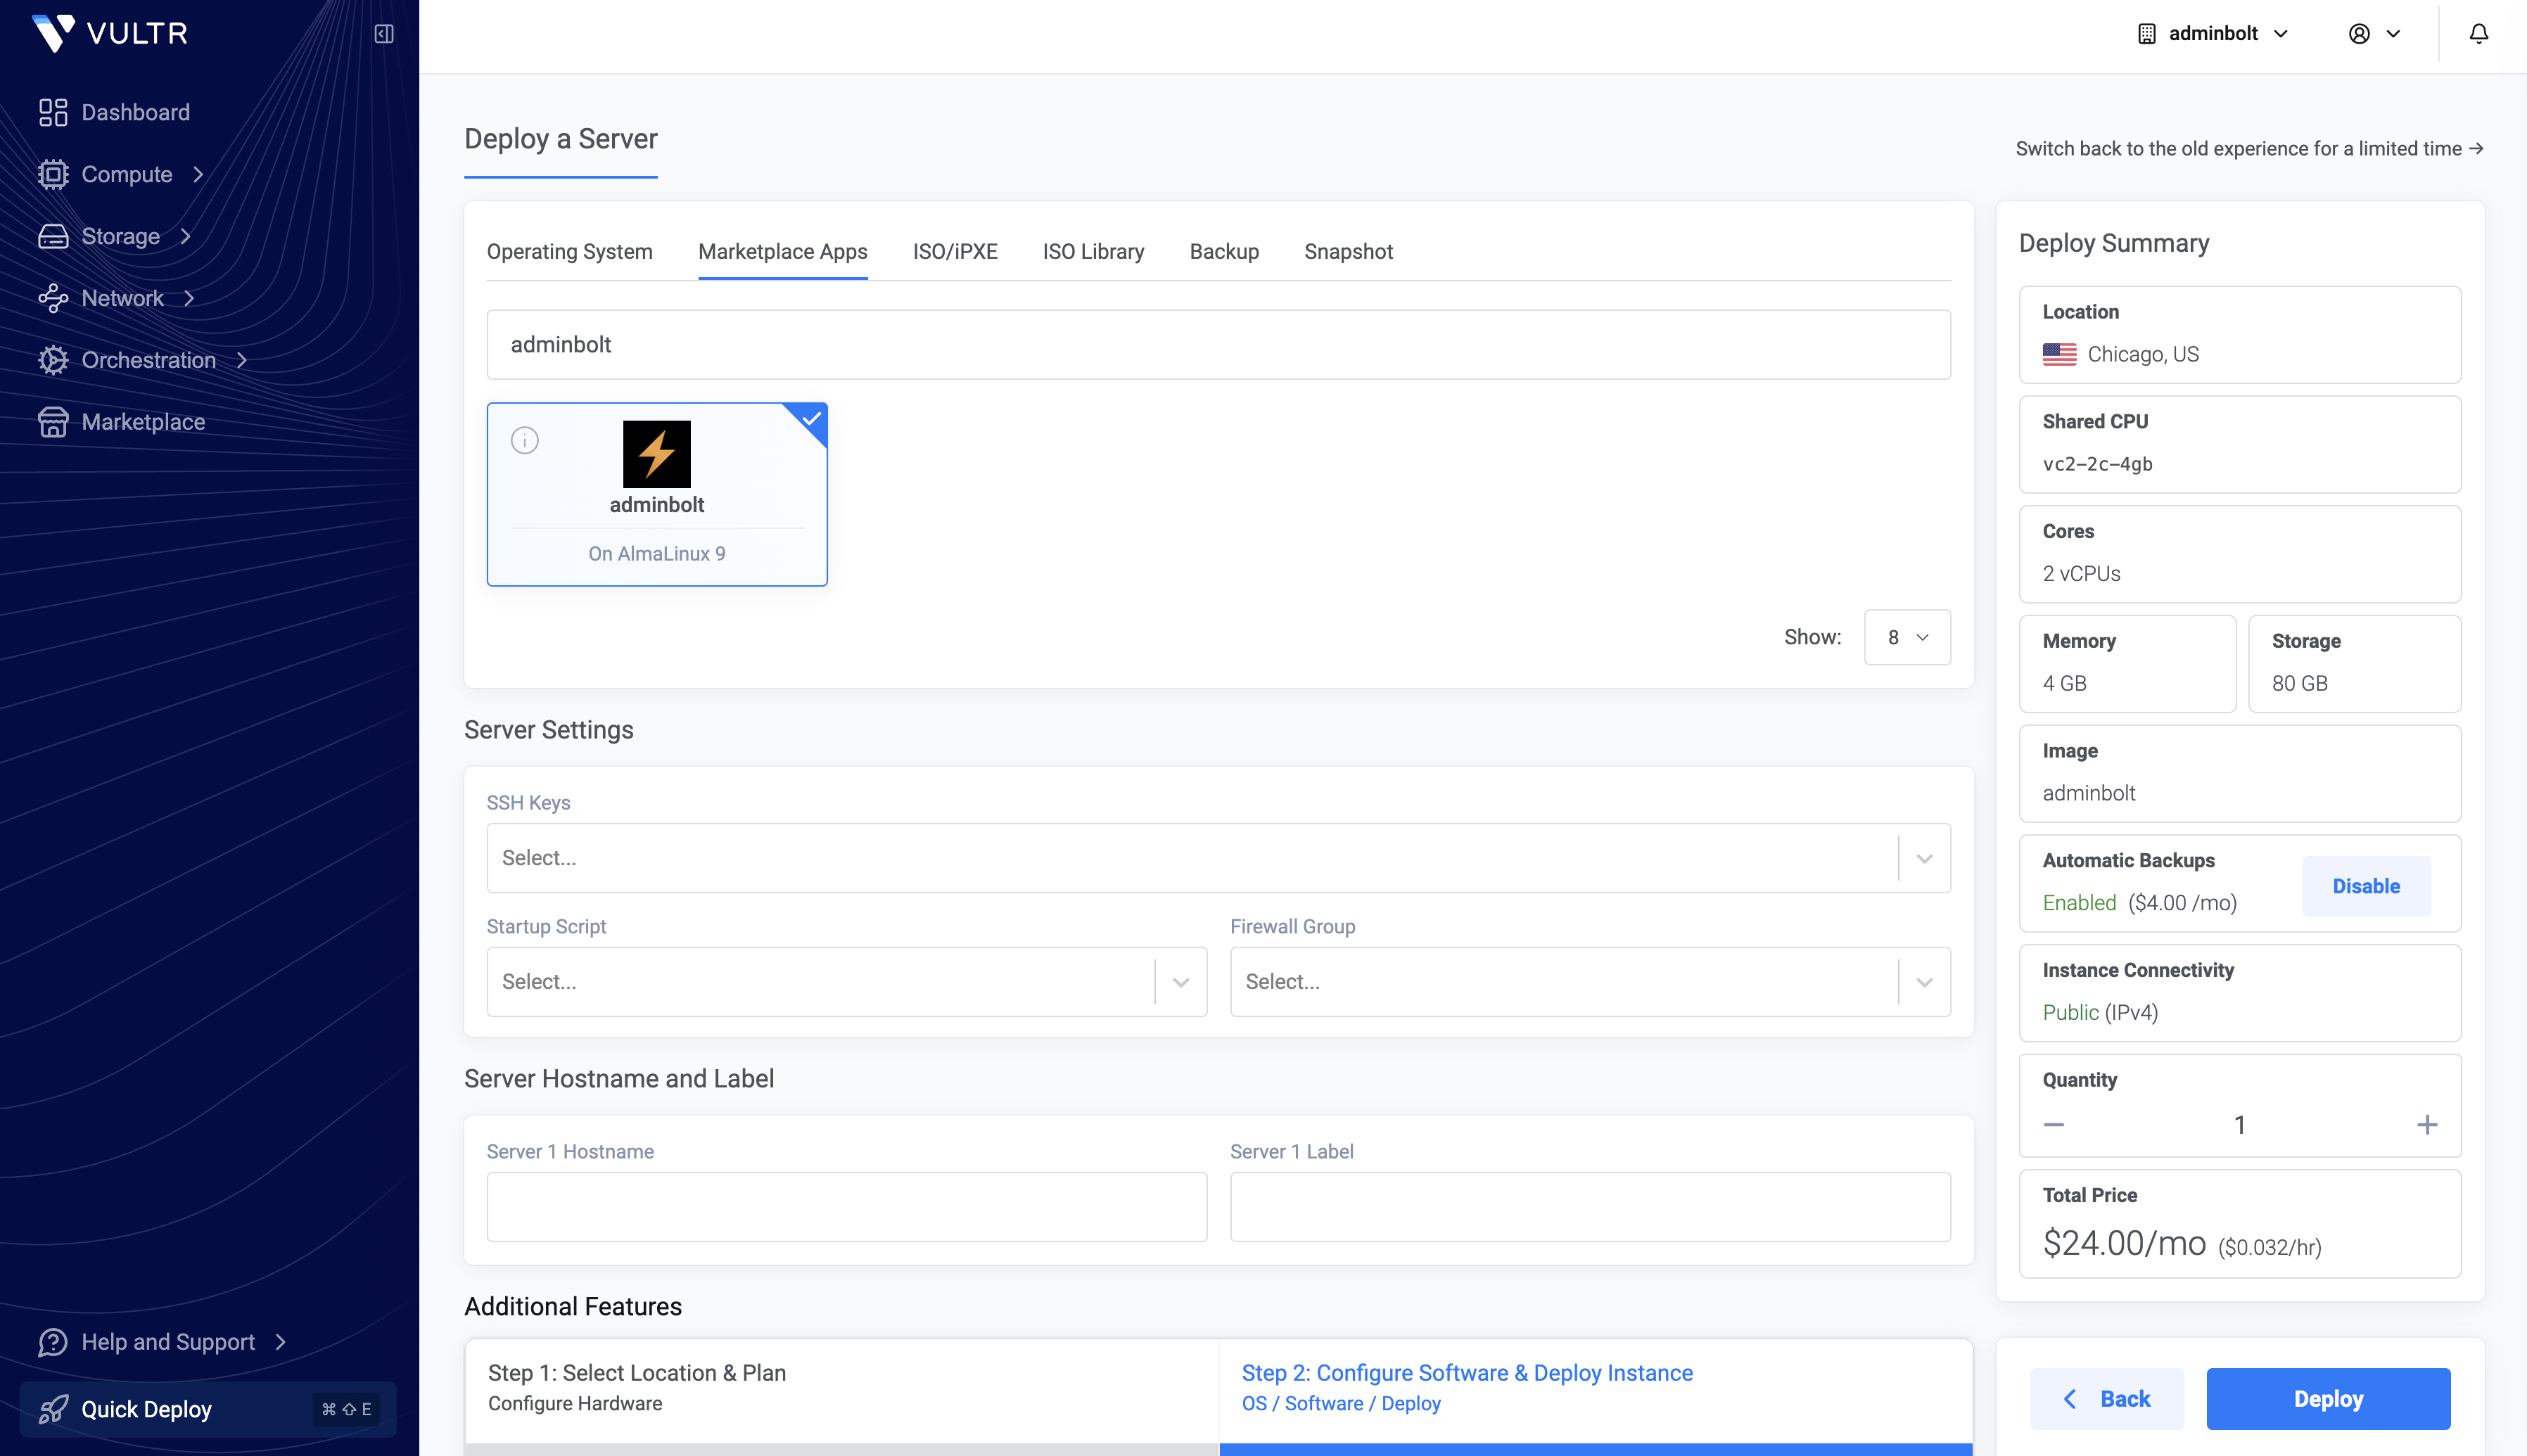
You are now on the Configure Software step. By default it opens on the Operating System tab. Click Marketplace Apps instead, the second tab at the top.
The Marketplace shows a grid of one-click applications: WordPress, Plesk, cPanel, CloudPanel, and others. Use the Search Apps field and type adminbolt. The grid filters to a single tile: a black square with the orange AdminBolt lightning bolt, labeled "AdminBolt / On AlmaLinux 9."
Click the tile. A blue border and a checkmark in the corner confirm it is selected, and the Image row in the Deploy Summary on the right updates to adminbolt.
Step 4: (Optional) Server settings
Below the Marketplace grid you can attach an SSH Key, choose a Firewall Group, and set a Server Hostname and Label. None of these are required to deploy, but two are worth doing now:
- SSH Key. If you plan to ever SSH into the box (for advanced configuration or troubleshooting), upload your public key here. Vultr injects it into the instance at boot.
- Hostname. Set something like
panel.yourdomain.com. You will point a DNS record to it in Step 6.
Leave Automatic Backups on or off depending on whether you also want Vultr's snapshot-based backups in addition to AdminBolt's application-aware backup module (JetBackup).
Step 5: Click Deploy
When the Deploy Summary panel on the right shows the correct location, plan, and adminbolt image, click Deploy at the bottom-right. The wizard kicks off provisioning. The instance lifecycle is:
- Pending (~30 seconds): Vultr is allocating the VM.
- Installing (~3–5 minutes): AlmaLinux 9 boots and the AdminBolt installer runs.
- Running: the panel is live and listening.
You can watch the status from Compute → Instances. Total wall-clock time is typically 4–6 minutes.
Step 6: Log into AdminBolt
Once the instance status flips to Running, click into it to see the public IPv4 address. SSH in once to generate a single sign-on URL:
ssh root@<your-vultr-ip>
bolt-cli admin-sso-generate
The command prints a one-time login URL. Paste it into your browser and you land directly in the AdminBolt dashboard, no password to type, no separate user to create. From here, run through the initial setup wizard to confirm the hostname and basic settings.
If you would rather skip the SSH step entirely, you can also log in via https://<your-vultr-ip>:8443 and use the credentials from the instance's Vultr console (root password is auto-generated and visible in the instance overview).
Step 7: Point DNS and let AdminBolt issue SSL
In your registrar (or Vultr's free DNS, under Network → DNS), create an A record for panel.yourdomain.com pointing to your Vultr instance's public IP. Then in AdminBolt, go to Settings → Hostname and set the same hostname. AdminBolt requests a Let's Encrypt certificate automatically; within a minute or two the panel is reachable over HTTPS at your real hostname.
You now have a fully working hosting control panel on Vultr, with no manual installation steps.
What's next: production checklist
The panel is live, but a few small touches turn it from "running" into "ready to host real customers":
- Add a domain. Settings → Domains. AdminBolt auto-generates DKIM, SPF, and DMARC records.
- Enable PHP versions you need. PHP 8.4 ships by default. PHP versions 7.4 through 8.5 are one click each in the panel.
- Set up WHMCS. If you bill through WHMCS, the AdminBolt module connects account provisioning to your billing in minutes.
- Connect monitoring. AdminBolt's built-in Metrics and Watchdog modules cover the basics; pipe them into your existing monitoring via the REST API if you have one.
- Plan multi-server. If this is the first of many Vultr instances, AdminBolt's native multi-server management lets one panel control them all. The Marketplace flow above is identical for every additional server you add.
Why this matters for Vultr customers
The reason AdminBolt fits on Vultr is the pricing model match. Vultr scales by capacity: you pay for the instance size you need, hourly. AdminBolt scales the same way, one flat license per server, no per-account fees. Add 10 customers or 10,000 customers to a single instance and the panel cost stays at $20/month. Spin up a second instance in another region and you pay another $20.
Compare that to per-account cPanel licensing on the same Vultr hardware: 200 accounts already costs more than the server itself. At 500+ accounts, the panel is the dominant line item, not the compute. AdminBolt holds the line flat.
Get started
The AdminBolt Marketplace listing on Vultr lives at vultr.com/marketplace/apps/adminbolt. The product page on adminbolt.com offers a 30-day free trial with no credit card at adminbolt.com. Full configuration documentation is at docs.adminbolt.com, and the community on Discord and the community forum is the fastest way to get help from other operators running AdminBolt in production.