adminbolt's WordPress module is native to the panel rather than wrapped around a third-party installer. It exposes two sidebar entries, Install WordPress and Manage WordPress. Behind those entries sits a 5-step provisioning wizard, an asynchronous installer with named progress stages, a list view of every install on the account, and a per-site detail view organized into four tabs: Overview, Plugins, Themes, and Posts.
This article walks through the module screen by screen. Each section pairs the actual UI with a short note on why the design choice matters when you are running customer WordPress installs in production, the kind of detail that shows up in support tickets, security reviews, and density planning rather than in a feature comparison sheet.
The point of the walkthrough is not to claim adminbolt does something nobody else does. It is to show, with screenshots, exactly what a customer or a support engineer sees, what each control does, and what to expect when an install runs end to end.
What adminbolt's WordPress module covers
The module handles the full lifecycle of a WordPress install on a hosting account: provisioning (install into a chosen domain and path), day-to-day operations (login, content, plugins, themes), and a clean uninstall that removes both files and database state together. The execution layer underneath is WP-CLI, which means the panel tracks the same behavior the WordPress core team maintains rather than reimplementing install logic from scratch.
WordPress has its own state model: a database, a wp-config.php, a salts file, a plugin directory, a themes directory, and a content directory. Any panel that only manages the filesystem will eventually leave orphaned tables, stale .htaccess rules, or broken cron jobs behind. Treating WordPress as a managed application rather than a pile of PHP files is the difference between a one-click uninstall that actually works and a steady drip of "I can't install WordPress at this path" tickets.
Two entry points: Install vs Manage
The WordPress section in the sidebar splits into two routes. Install WordPress opens the wizard for a new site. Manage WordPress opens a list of every WordPress install on the account, with a per-site detail view one click away. Keeping the two paths separate makes the panel easier to navigate for both customers and support agents: provisioning and operations are different mental modes and should not share a screen. A customer who is installing is making decisions about a site that does not exist yet; a customer who is managing is responding to something the site is already doing.
The installation wizard (5 steps)
The installer is structured as five sequential steps, each asking one decision. The user moves forward with a Next button and back with a Back button. Nothing is written to disk until the final step. Customers regularly change their minds about a subdirectory path or an admin username midway through, and the wizard has to handle that without leaving state behind.
The five-step pattern is the consensus across modern panels for a reason: each step has one job, the customer can finish a step without holding the whole installer in their head, and the order matches the questions WordPress itself needs answered in roughly the sequence the WordPress installer asks them. Putting validation at the boundary of each step, rather than at submit, means a typo in the admin email gets caught before the customer commits to the install rather than after the panel has spent 20 seconds writing files.
Step 1, Domain & Path

The first step has two fields: a Select Domain dropdown and an Installation Path text field. Leave the path empty to install at the document root, or enter a single segment like blog, wp, or store for a subdirectory install. The field rejects dots and special characters because those almost always indicate a mis-typed URL rather than a real intent.
Why this matters in production: subdirectory installs are how most customers run a marketing site at the root and a WordPress blog one level down, or a separate documentation site under /docs. Validating the path string at step 1 prevents the most common installer failure, an install attempted into a path that is not a valid directory name and fails three stages later with an opaque filesystem error. The earlier the validation, the cleaner the recovery: catching the error in step 1 means no files written, no database created, no rollback needed.
Step 2, Site Configuration
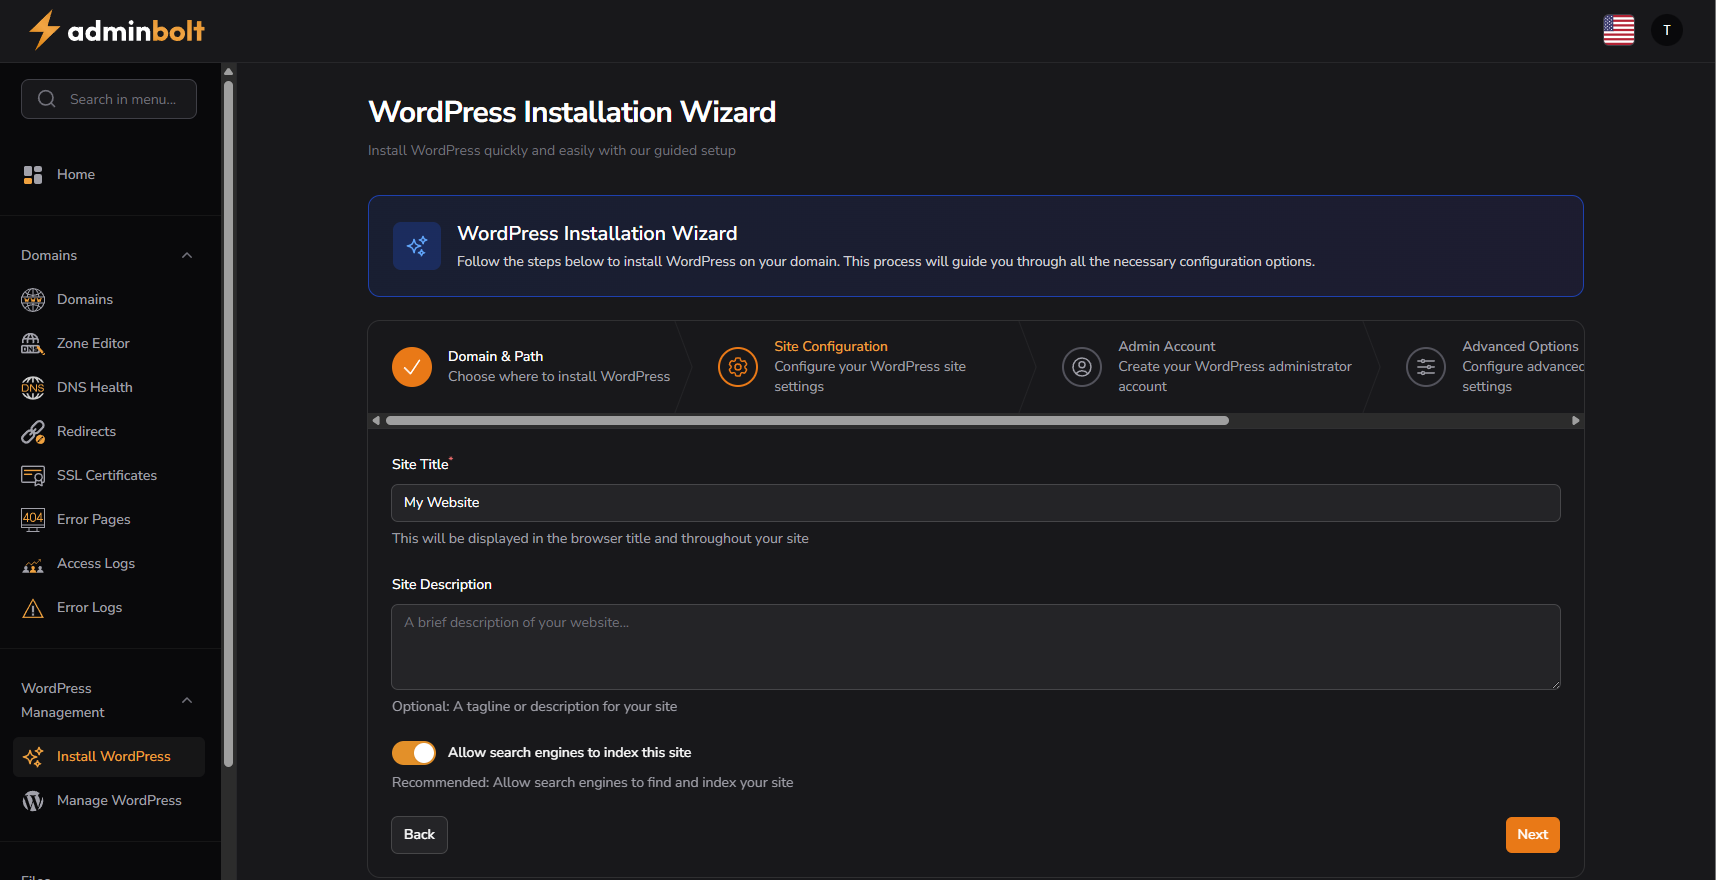
Three fields: Site Title (defaults to "My Website"), Site Description (optional, blank by default), and an "Allow search engines to index this site" toggle that is on by default. The toggle controls the blog_public option in WordPress, which is the same setting wp-admin exposes under Reading.
The reason indexing defaults to on is that the most common reason a customer's site never ranks is that they shipped with indexing disabled and forgot to re-enable it. The setting is buried two clicks deep in wp-admin and most customers never look at it after install. Defaulting the other way trades a small staging-site convenience for a much larger and more common production problem. Customers who want a staging environment can flip the toggle off explicitly, they know they are building a staging environment; they do not know they accidentally hid their production site from Google for three months.
Step 3, Admin Account
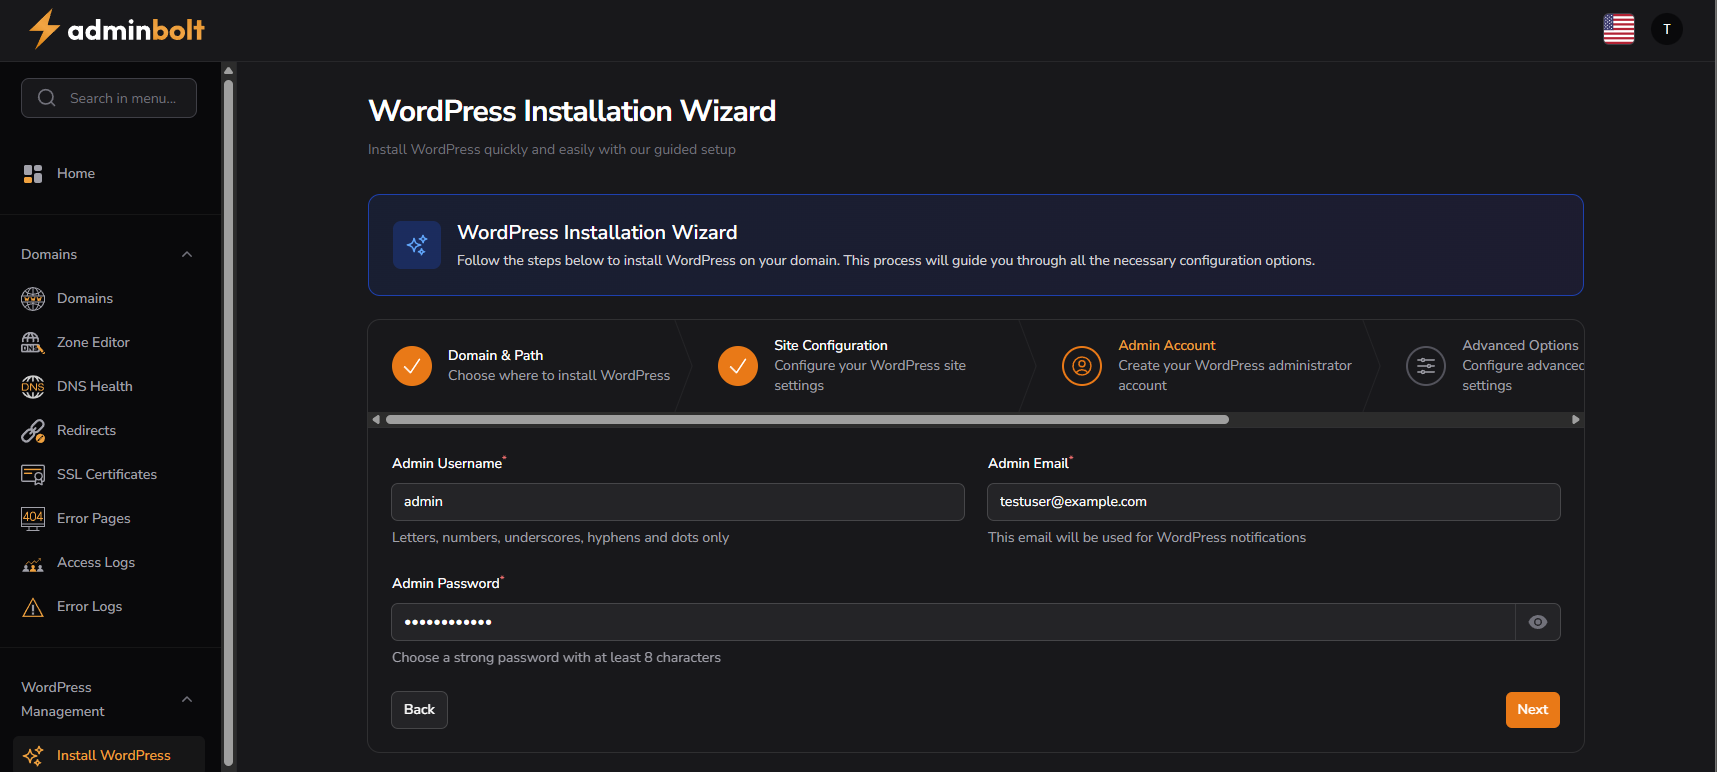
Admin Username accepts letters, numbers, underscores, hyphens, and dots, the same character set WordPress itself accepts. Admin Email is prefilled with the hosting account email, which is correct in most cases and is a useful default because it ties the WordPress admin user to the account holder. Admin Password requires eight or more characters.
The email prefill is a small but real support-cost win: when a customer forgets their WordPress password later, the address WordPress sends the reset to is the same address the panel already knows about, so the reset flow works on the first try. The character set on the username field rejects characters WordPress itself would reject during install, which means a username that passes validation in the panel will also pass validation in WP-CLI's wp core install call.
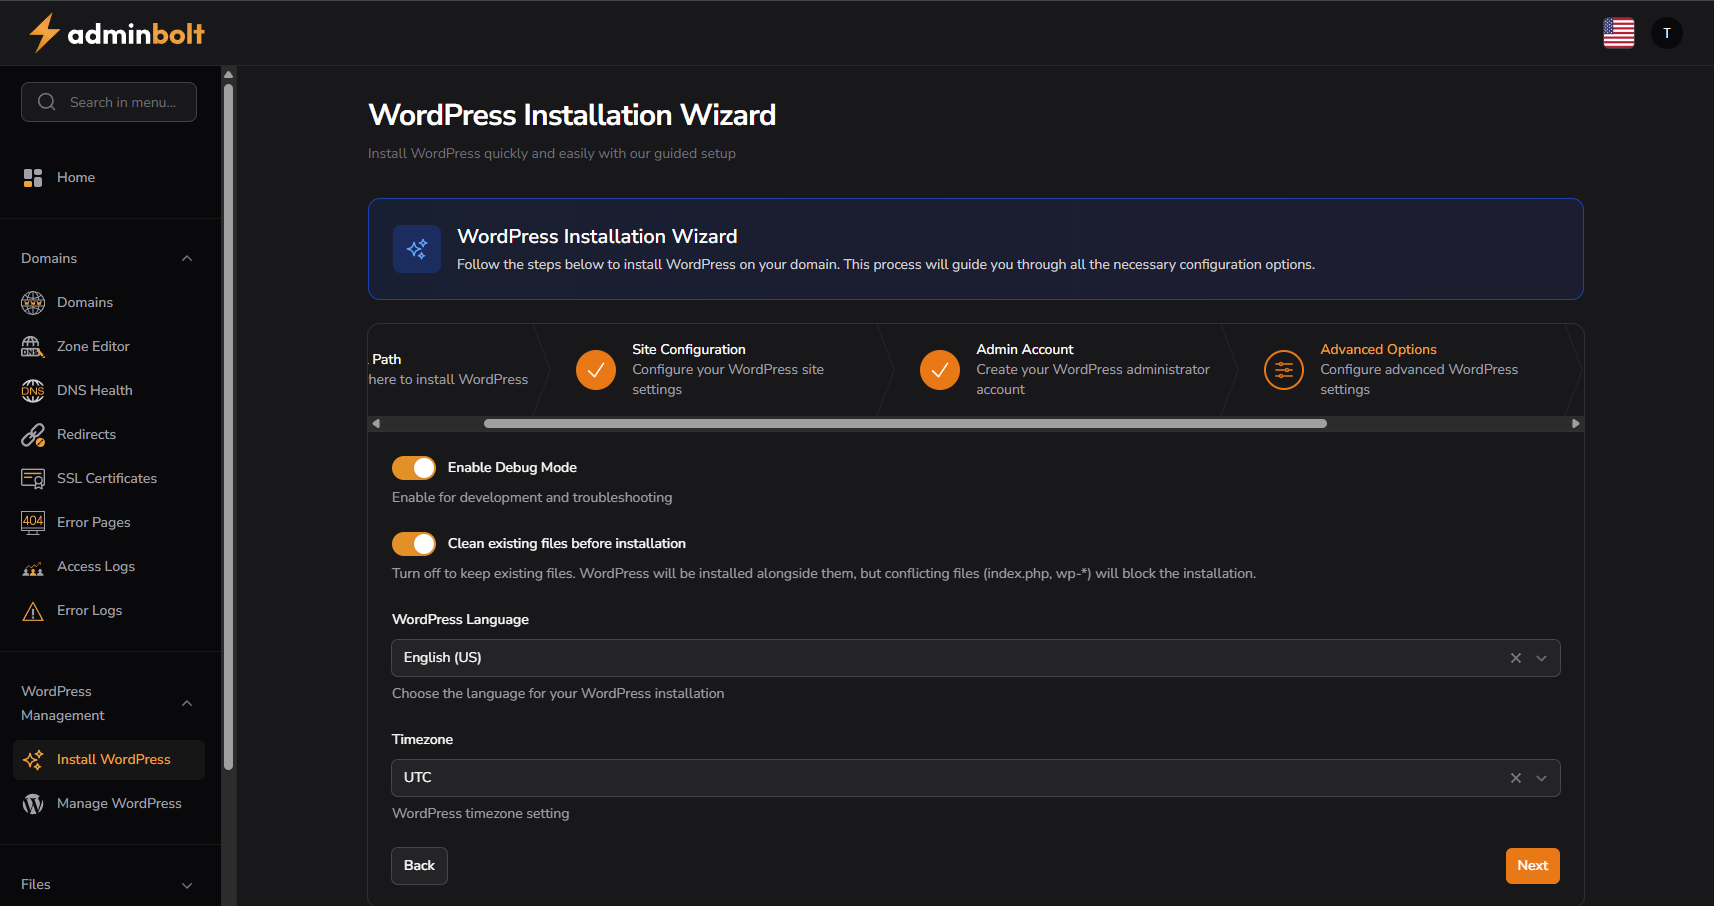
Step 4, Advanced Options